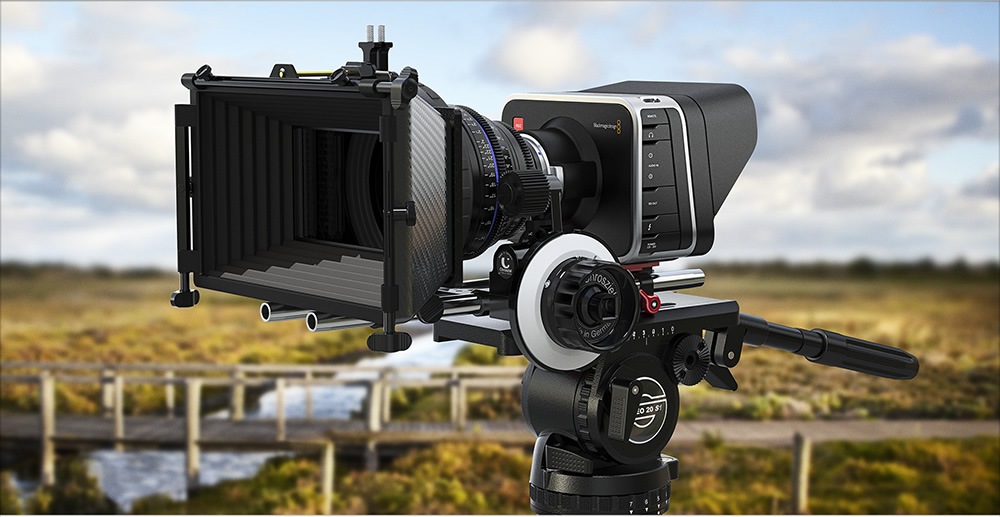
With this tutorial (from Colorgradingcentral.com) you can easily learn the workflow with RAW files from the Blackmagic Cinema Camera.
The video focuses mainly on editing and color correcting the CinemaDNG RAW 12 bit files that this camera outputs in RAW recording mode. The problem is that not many editing systems work natively with these files, so transcoding is necessary for tools like Media Composer, Final Cut Pro or Premiere to understand them.
You can use DaVinci Resolve to perform this conversion and, once the edit is complete, export an EDL, XML or AAF to return to the original clips for color correction.
In the tutorial you will see how to import the files and apply a LUT for proxy generation. An important option that is not mentioned is that, in the DaVinci render window, you have to mark that the export is done by individual clips, not as a single file.
In addition, if you register on the Color Grading Central website, you will have access to CinemaDNG RAW material for practice.
And if you want to learn more about workflows and color correction with DaVinci Resolve, don’t hesitate to take a look at the February courses: Basic and Advanced.


