News
New Fusion tutorial: the best plane stabilizer Part 2
Jun
Today we bring you the second part of the Fusion tutorial “The best shot stabilizer is in Fusion”.Here you can find the first part of this tutorial where we explained some of the tools available in Fusion Stand Alone to get stabilized shots.
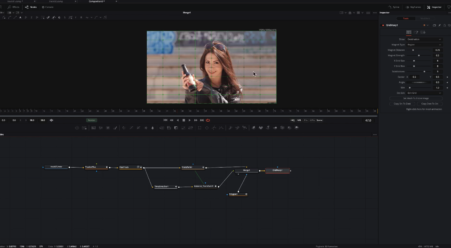
In this new installment of Fusion tutorials, the tools that are well explained can be found in both the free version of DaVinci Resolve and the paid DaVinci Studio version. The Camera Tracker 3D tool we saw in part one is only available for the Studio version. In order to work with the new stabilization tools, you will need to download reactor installer to access a series of nodes that have been developed by the Fusion community to improve it. These nodes are free and very easy to install and download. All this is also explained in this tutorial.
In this case the tools we will be working with are Tracker Plus and MT-Flexitrack. As always, you will have access to the material used in this tutorial so that you can practice with it or reproduce the practice from home and you will also have access to the final compositions of each exercise.
We hope you find this new shot stabilization tutorial helpful and if you want to keep learning new techniques and get to know the Fusion tool in depth, don’t miss the DaVinci Resolve Fusion courses onlinealso taught by Jorge Molina.