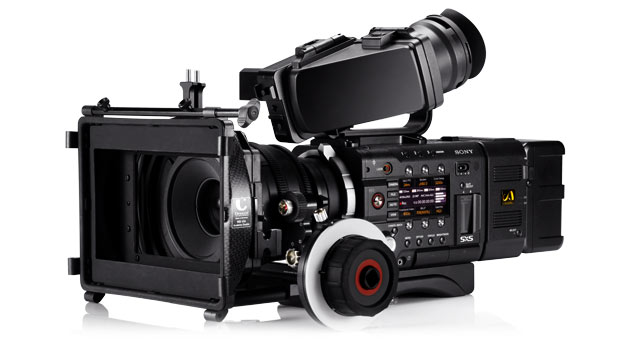
With the arrival of firmware version 3.0 (which you can read more about here), Sony gave F55 users the ability to record 2K HFR (High Frame Rate).
In this tutorial we will explain how to get the required frame rate by following the different menu options:
Although the two main menus are System and Camera, the first thing to do is to go to the Recording menu > Rec Control and choose SxS and AXS recording if we want to use the XAVC and RAW codec simultaneously or only AXS to work on the Sony recorder.
In the System menu choose between YPbPr or RAW under Main Operation > Base Setting. An important clarification is that HFR recording is not available if in this option we set an RGB setting.
Then we will go to the Imager Scan Mode, where we can choose between Normal, Full Scan (uses the full sensor for 2K recording) or Center Scan (only uses the center of the sensor for 2048 x 1080 resolution).
Finally, we go to the Camera menu > S&Q Motion. If we want to record between 1 and 60fps this option should be set to On, but the High Frame Rate Mode should be set to off.
If you want to record between 72 and 240fps, set Full Scan or Center Scan in the previous option and then select the recording frame rate.
Here is a diagram to help you navigate through the F55 menu to work with HFR. You can also download it as a PDF from this link.
And if the tutorial is not enough for you and you still have doubts about this type of recording, I recommend you to go to the Digital Cinema Cameras and Codecs, Formats and Workflows courses.
* Source: http://blog.abelcine.com/2014/01/29/high-frame-rate-recording-with-the-sony-f55/


