Feb
This tutorial, originally published by Abelcine, explains step by step how to apply LUTs on logarithmic material in various editing and color correction systems.
DaVinci Resolve

We will start with the color correction software developed by Blackmagic Design, since it is the one that offers the most possibilities. In addition to being able to apply LUTs in different ways (on a single clip, a track or an entire timeline), DaVinci also allows you to generate them and then take them to any other program that we will talk about later.
Now, in the preferences panel, a button has been added that simplifies the process of importing LUTs, since it takes us directly to the folder where we will have to add them.
But before that, we create a new project and in the settings we go to the “Lookup Tables” tab.

This menu is the one that handles all the LUTs management in Resolve. At the top we can select whether we want all the clips in our project to have an input LUT (before color correction), or an output LUT (after correction). They can also be applied to the monitor output or to the integrated scopes.
Below you will find the “Update List” and “Open LUT Folder” buttons. The second one allows the installation of new LUTs, simply by copying the file corresponding to the LUT into the folder that opens.
When we add a LUT we will have to click on “Update List” to see it.

If we go to the “Color” section of DaVinci, we can add individual LUTs to clips by opening the right-click drop-down menu and selecting a 1D or 3D LUT from the list.

It is also possible to affect an entire timeline track by switching from “Clip” to “Track” in the upper right corner of the interface.
Finally, LUTs can be exported by selecting (in the right-click menu) “Generate LUT“. If we have started from another LUT, it is necessary that this one has been applied on the node graph, otherwise it will not be exported.

Avid Media Composer 7
Version 7 of Avid added the ability to load LUTs directly to the clips we have inside our bins.
Once the material has been imported, right-click on any clip and select the “Source Settings” option.

In the first menu that appears we must select the color space of the source, that is, if the material comes from a Sony, Canon, Arri, etc. camera. These settings are important to ensure that the image levels are correct, and can be set to legal or extended (if you don’t know what these two terms are you may want to take a look at the HD Color Correction Course).

Then select the desired LUT, such as “LogC to Rec709” if it is the case of an Alexa. To see the result on the image click on “Add” and to apply it definitively on the clip click on “Apply“.

If we want to load an additional LUT to the existing ones, we must open “Color Management Settings” and click on “Install LUT“.

Final Cut Pro X
Color Grading Central has developed a plugin called LUT Utility ($29) that allows you to work with LUTs inside Final Cut Pro X by applying them as effects.
The first thing to do is to open LUT Utility under the Mac system preference pane.

Here you will see a list of available LUTs. To import a new one, simply click on “+” and select it.

Now, in FCP X search for Effects > LUT Utility and apply the effect by dragging over the timeline clip.

In the Video tab, the “Apply LUT” option should appear under effects, where we can select the LUT we want from the list.


For ARRI Alexa material there is a special option that automatically allows you to view the material in Rec709. We may not be interested in combining this with LUT Utility, so to disable it you have to open the clip in the viewer, go to the Info tab > Settings and uncheck the “Log Processing” option.


If you want to know more about this particular process you can read this post from a few days ago.
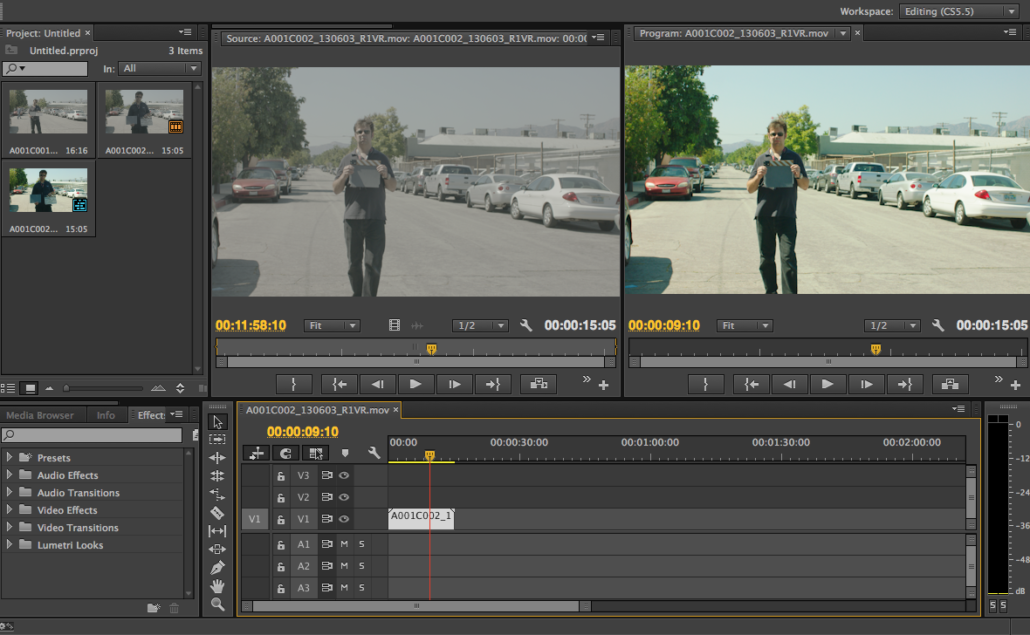
Premiere Pro CC
Applying LUTs in Adobe’ s editing system is very simple. With the latest Premiere update, an integrated plug-in called Lumetri was added, which allows you to apply multiple LUTs and easily send them to SpeedGrade for color correction.
To apply LUTs, the first thing to do is to find the Lumetri effect under Effect > Video Effects > Color Correction > Lumetri.

There is a complete Lumetri Looks category that provides various looks in Premiere but does not allow you to load LUTs. To do this, if we add a logarithmic clip to our timeline and apply the Lumetri effect, a window will open where we can locate the desired LUT.
We select the appropriate LUT (which can be one we created ourselves) and open it. If we now save the project and open it in SpeedGrade, our clip will appear with the same LUT we just applied.

We hope you found it useful and we remind you that if you want to learn more about these systems we have several courses dedicated to editing, color correction, effects generation or DCPs creation (among others). Here you have the link to take a look at them.
